|
Always finding it difficult to do up your computer strap over your Dry suit ?
Wrist lanyard always getting in the way?
What you need is a new way of mounting your computer on your wrist which is both easy and safe…..enter the computer mountings from Diving Niknaks which use a bungee cord to attach the console to your wrist.
These mounts are used by technical and cave divers as they are easy to use and set up. There are 2 bungee straps which provides redundancy in case of breakage and the bungee compensates for depth so no more worrying about your expensive computer slipping off !
Below are the instructions for changing a Suunto Vyper (Version 1) wrist strap to a Diving Niknaks mount. Diving NikNaks offer a range of mounts which can be seen here.
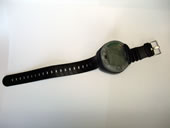
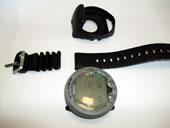
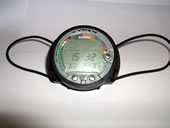
Start with your Computer on a flat surface and open the strap up (fig.1)
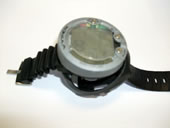
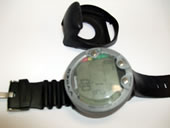
Push the black plastic cover back over the straps, this is the plastic cover with the words Suunto on it. (fig.2). You should now have access to the strap pins (fig. 3)
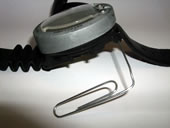
With a small sharp object, insert into the strap pins (I used a large paperclip) and push down to remove the pin from its hole (fig.4). Repeat this for the other side so that you are left with just the console and lots of bits (fig. 5)
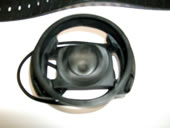
Take the new mount (fig.6) and thread the bungee through and cut it to the required length. I found the best way to attach the bungee was to take both cut ends through the furthest holes towards the front of the mount (fig.7), then go back through the next set of holes towards the back of the mount and tie a knot (fig.8). This can then be pushed into the hole in the back of the mount
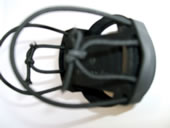
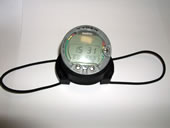
The console can now be inserted in to the new mount, (make sure you put it in the right way round), this is a little difficult but with some perseverance you can get the console seated correctly, you will find that the strap holders give you the most trouble but will keep the console in the mount securely (Fig.9). There is a lip which needs to be pulled over the console to finish the mount off. (fig.10)
And there you have it, pretty simple and a whole lot less hassle when you are trying to kit up. I must admit to changing my compass to the same set up!
|